

In this post, we wil learn how we change change kernal to different virtualenv in Jupyter Notebook. Many people face issues when trying to run Kernal in different Vritual Environment, by the end of this post, you won’t face any such issues. Jupyter notebook is a popular tool used by data scientists and developers to perform various data analysis and coding tasks. One of the benefits of Jupyter Notebook is that it allows users to work with different programming languages, including Python, R, and Julia. Additionally, Jupyter Notebook supports the use of virtual environments, which are isolated spaces that contain specific versions of Python packages and dependencies.
So let’s get started with learning how to add a virtual environment to the kernel in Jupyter Notebook and how to change the kernel to a different virtual environment. We will use the term “virtualenv” to refer to a virtual environment throughout the post.
What is Kernal in Jupyter Notebook?
A kernel is a program that runs and executes code in a specific programming language, such as Python, R, or Julia, within Jupyter Notebook. When you create a new notebook or open an existing one in Jupyter Notebook, you select a kernel to use for that notebook. The kernel is responsible for executing the code you write in the notebook and returning the output to you. It also keeps track of the state of the code you’ve written, including any variables you’ve defined, so that you can continue working on the code in the notebook later.
Jupyter Notebook supports a wide variety of kernels for different programming languages and environments. Each kernel provides specific functionality and tools for working with that language or environment within Jupyter Notebook.
In summary, a kernel is a program that runs and executes code in a specific programming language within Jupyter Notebook. It is responsible for executing your code, keeping track of its state, and returning output to you.
What is Virtual Environment?
Before diving into how to add a virtual environment to the kernel in Jupyter Notebook, let’s take a quick look at what a virtualenv is. A virtualenv is a tool used to create isolated Python environments. It allows users to install specific versions of Python packages and dependencies without affecting the system’s global Python installation. By creating virtualenv, users can avoid package version conflicts and ensure that their code runs consistently across different systems.
Note: A lot of people face issues when trying to change kernel to another virtual environment(virtualenv), or when adding a virtualenv to kernel, so instead of directly going into the step that should be followed, I’m going to post some common mistakes so that you can avoid those when following the steps to add virtual environment to Kernal in Jupyter Notebook.
Common Mistakes to Avoid
When adding a virtualenv to the Jupyter Notebook kernel, there are a few common mistakes that people make. Here are two of the most common mistakes, and how to avoid them:
Installing ipykernel in the global environment instead of the virtualenv
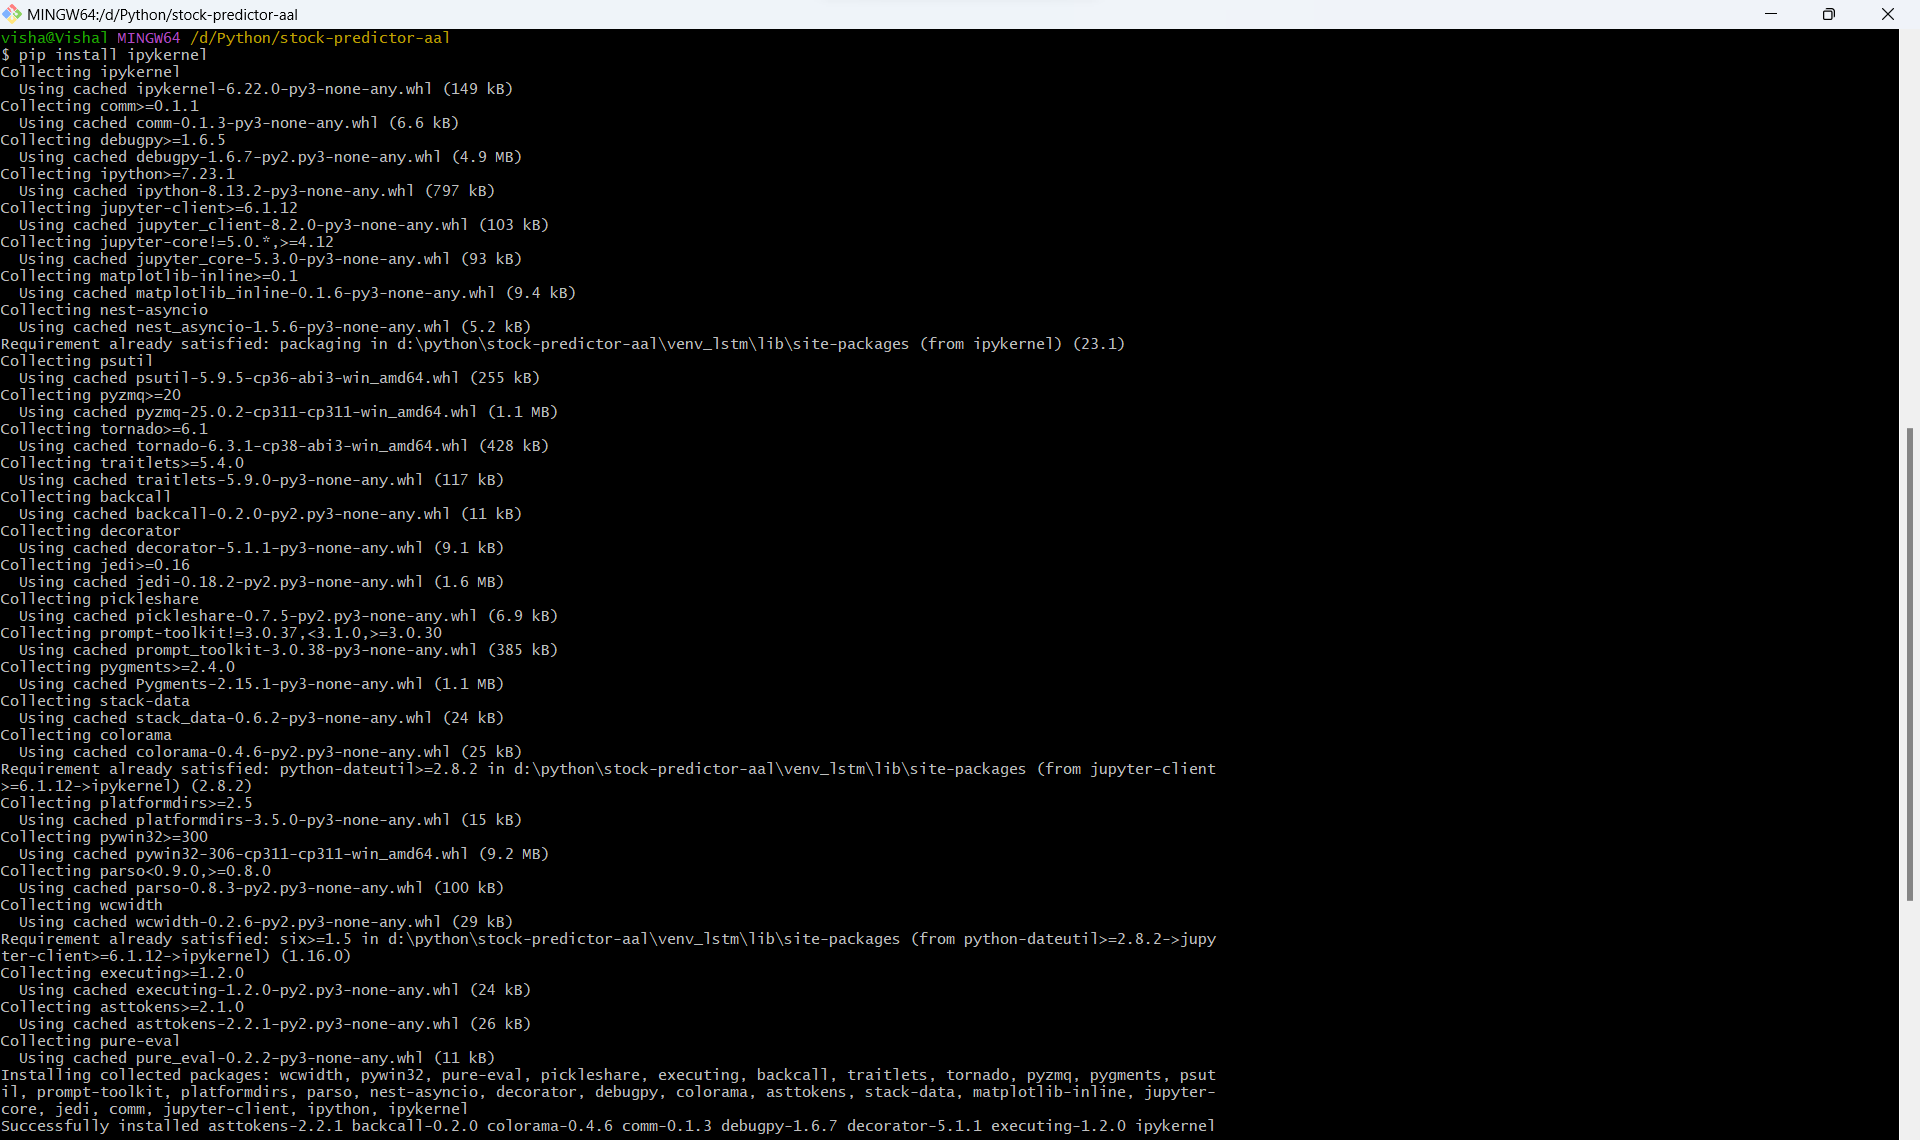
One common mistake is to install the ipykernel package in the global environment instead of the virtualenv. This can lead to version conflicts and errors when trying to switch between different virtualenvs.
To avoid this mistake, make sure that you activate your virtualenv before installing ipykernel. This will ensure that the package is installed in the virtualenv rather than the global environment.
Not activating the virtualenv before adding the new kernel
Another common mistake is to forget to activate the virtualenv before adding the new kernel to Jupyter Notebook. This can lead to the new kernel being added to the global environment instead of the virtualenv.
To avoid this mistake, make sure that you activate your virtualenv before running the ipykernel command to add the
new kernel. This will ensure that the new kernel is added to the virtualenv rather than the global environment.
By avoiding these common mistakes, you can ensure that your virtualenvs are properly configured in Jupyter Notebook and that you can switch between different virtualenvs without any issues.
Adding a Virtualenv to the Kernel in Jupyter Notebook
To add a virtualenv to the kernel in Jupyter Notebook, we first need to create the virtualenv. We can do this using the venv module, which is included in Python 3.
- Open a terminal or command prompt and navigate to the directory where you want to create the virtualenv.
- Type the following command to create a new virtualenv: python3 -m venv myenv

This command will create a new virtualenv named “myenv” in the current directory. - Activate the virtualenv by typing the following command: source myenv/bin/activate
Once the virtualenv is activated, any packages you install will be installed in the virtualenv instead of the global Python installation. - Install the ipykernel package by typing the following command: pip install ipykernel.
This package provides the necessary tools to add the virtualenv to the Jupyter Notbook kernel - Finally, type the following command to add the virtualenv to the kernel in Jupyter Notebook:
python -m ipykernel install –user –name=myenv
This command will create a new kernel in Jupyter Notebook that uses the virtualenv named “myenv“.


Changing the Kernel to a Different Virtual Environment (Virtualenv)
Now that we have added a virtualenv to the kernel in Jupyter Notebook, we can easily switch between different virtual environment as needed.
- Open Jupyter Notebook in your web browser.
- Click on the “New” button in the top-right corner of the screen and select “Python [myenv]” from the dropdown menu. This will open a new Jupyter Notebook that uses the kernel associated with the “myenv” virtualenv.
- To switch to a different virtualenv, first activate the desired virtualenv in your terminal or command prompt. For example, to activate a virtualenv named “myenv2“, type the following command: source myenv2/bin/activate
- Next, type the following command to create a new kernel that uses the “myenv2” virtualenv: python -m ipykernel install –user –name=myenv2
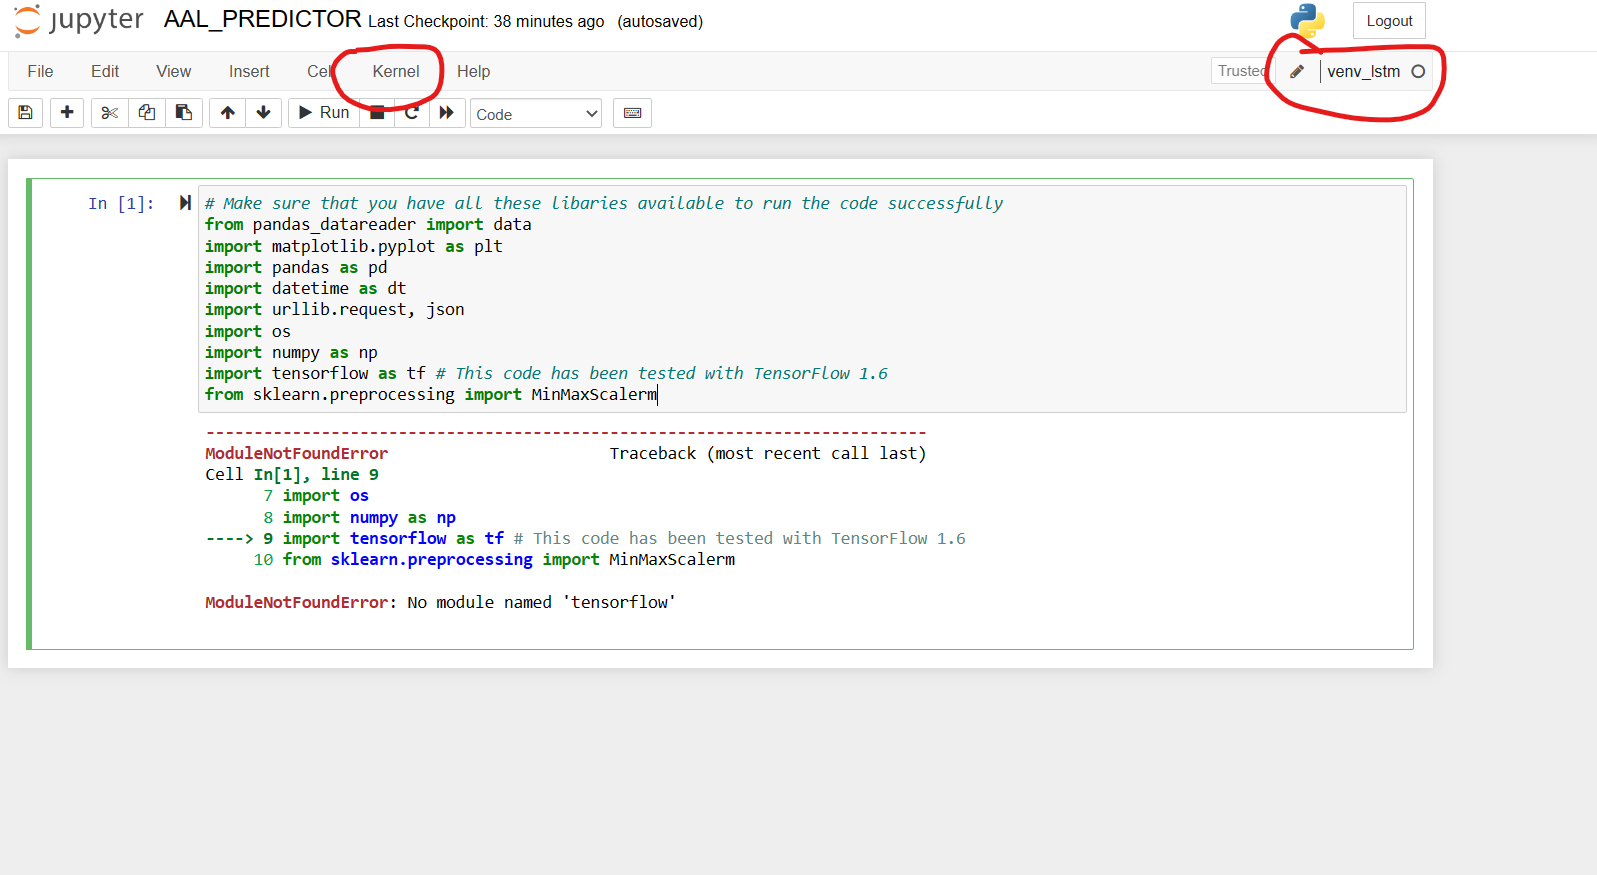
- In Jupyter Notebook, refresh the page and click on the “Kernel” dropdown menu in the top navigation bar. You should now see both the “Python [myenv]” and “Python [myenv2]” options in the menu.
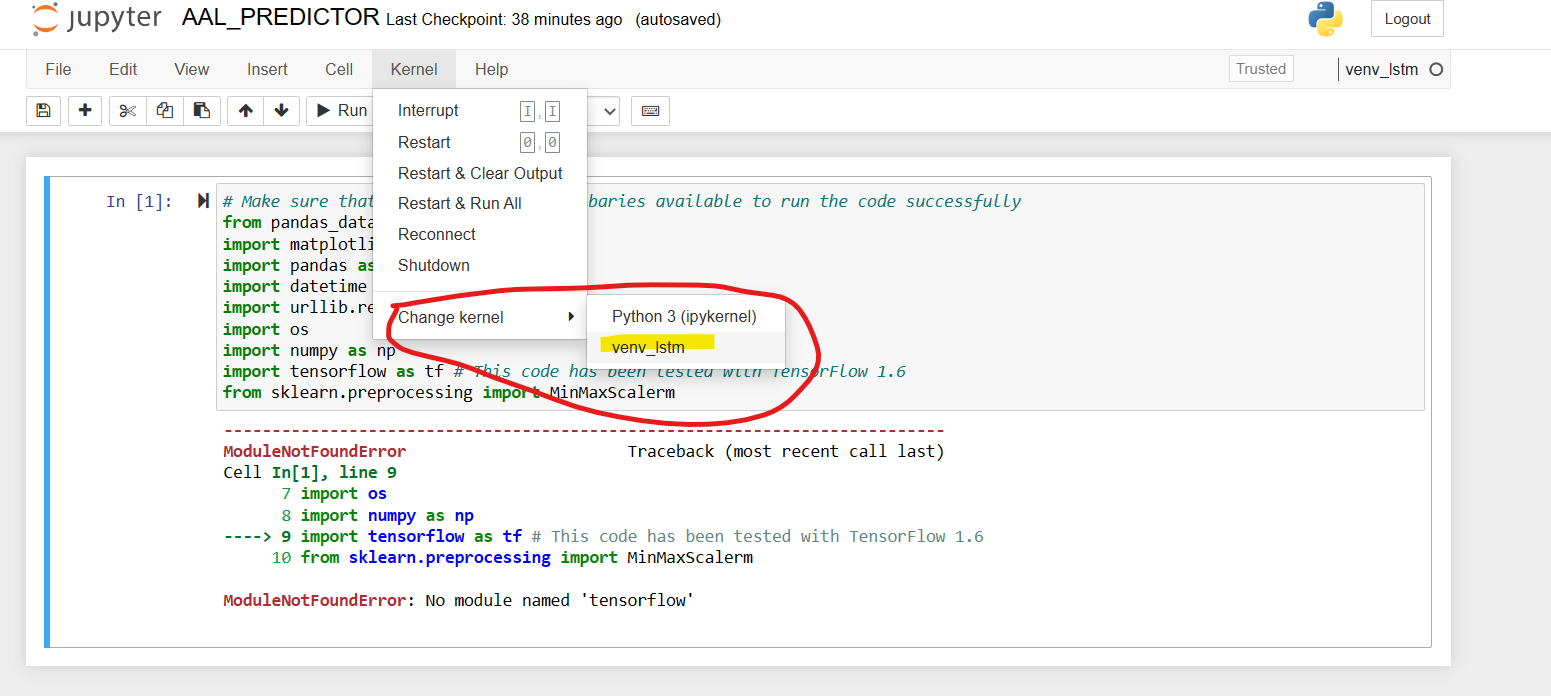
- To switch to the “myenv2” virtualenv, select “Python [myenv2]” from the dropdown menu. This will change the kernel to use the “myenv2” virtualenv.
- You can now use Jupyter Notebook with the packages and dependencies installed in the “myenv2” virtualenv.


Conclusion
Adding a virtualenv to the kernel in Jupyter Notebook and changing the kernel to a different virtualenv is a simple process that can greatly enhance your workflow as a data scientist or developer. By isolating different projects and dependencies in virtualenvs, you can avoid version conflicts and ensure that your code runs consistently across different systems.
In this blog post, we’ve covered the basics of creating virtualenvs using the venv module, installing the ipykernel package to add virtualenv to the Jupyter Notebook kernel, and switching between different virtualenvs in Jupyter Notebook. By following these steps, you can easily create and manage virtualenvs in Jupyter Notebook and work more efficiently on your data analysis and coding projects. If you have any queries, feel free to leave a comment below. I’ll help you out to the best of my abilities.
You may also like:
Most Common Python Problems
Hi friend, thank you for all your work. I followed your video but TensorFlow failed to install because Python 3.6 was my default at the time I created the environment (Tensorflow requires >3.7).
So I installed python 3.10, set it as my default path, and repeated the steps in your lesson. Now, when I type python -m ipykernel install –user –name=tfkernel
I get a SyntaxWarning: ‘Did you mean “==”‘?’……..
ImportError: cannot import name ‘_device’ from partially initialized module ‘zmq.backend.cython’ (most likely due to a circular import)
Thank you again for all your work.