

In any Android or iOS applications, it is highly likely that these will be a use case where your app will crash even if after the rigorous tests you’ve put your app through. Be it because of different API levels, memory issues, hardware incompability or any other problem, its of utmost importance that you recognize these factor and diagnose them. This is where Crashlytics comes in, it helps you track crashes very precisely find out the issue and diagnose them. Crashlytics can also provide you insights and possible solutions for common errors.
Paying attention to these crashes and fixing them as soon as possible avoids frustation among more users and possibly you can impress your users with quick bug fixes. If you don’t use tools like Crashlytics, it’s very difficult track the crashes, more of your users might get unhappy and give your app bad ratings and reviews, uninstall your app and go with your competitier’s app instead. The app market is already very crowded, keeping your users happy and providing them a bug free and crash free experience is vital in any app’s success.
Crashlytics is my favorite tool for crash analytics, it is quick, provides nice summary and has almost everything I need to know about the crash. Some of the key features I like about crashlytics are:
1. Real time error reports: You can opt to receive email about the errors in real time so you know exactly when the app has crashed.
2. Possible solutions and insights for major/common issues: Crashlytics also provides possible solutions to some commont problems so you can understand more about the crash in your apps.
3. Stability Digest: Crashlytics also provides a stability digesting informing you how stable your app is. It provide key features of your apps performance.
4. Helpful Organization of errors into categories: The errors are well organized and categorized into different groups making it very easy for you to navigate through and focus on the important ones.
5. Free! Yes, Crashlytics is free 😀
Use Crashlytics and you’ll come to know the importance of it and know how good your app is ;). In this tutorial we will go over account creation with Crashlytics, its integration in Android, getting crash reports and custom messages. So lets start integration of Crashlytics in your Android app, you can also check our tutorial video:

1. Create a Fabric account
- Go to Fabric’s site and sign up: Fabric Sign Up
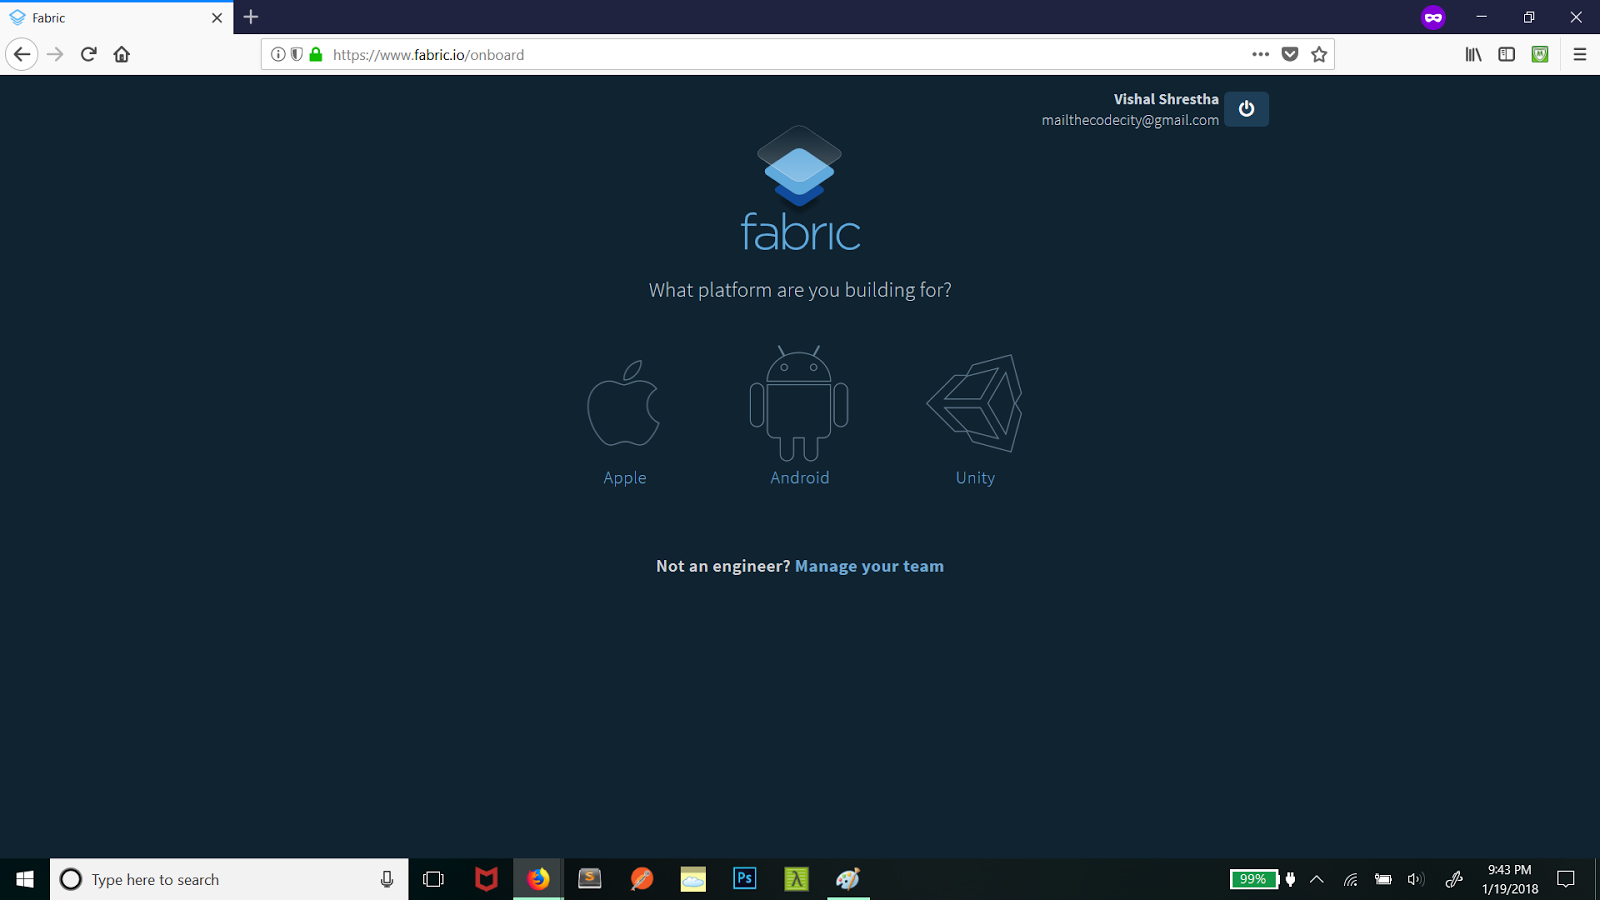
- You’ll see a page similar to this:

Enter your details, use an Email address to which you have access as you’ll receive the confirmation email later on. Once you have confirmed your account, you’ll have the options to select from: iOS, Android and Unity.

Select Android as we will be integrating Crashlytics to our Android App.

2. Installing Fabric Plugin to Android Studio.
- Now it’s time to install Fabric plugin to Android Studio so we can use Crashlytics. You will be able to see what you need to do once you select Android. However, at the moment of writing this, the instruction were not upto date due to updates in Android Studio, so here are the generic steps: Go to file->settings->plugins then search for Fabric and click install.

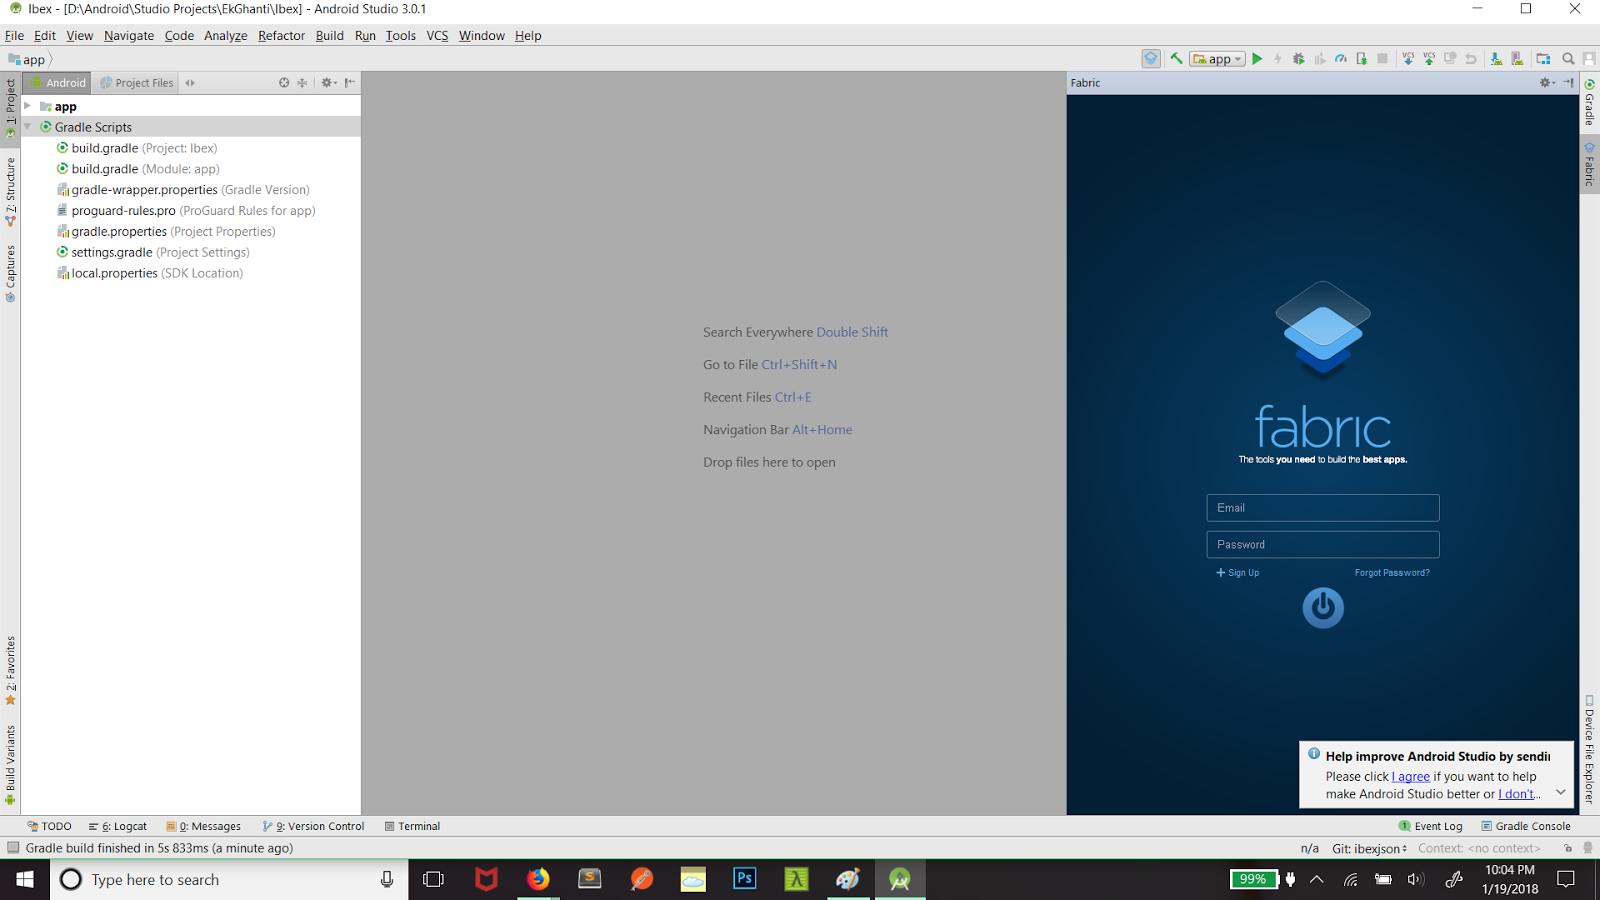
- After you’ve installed Fabric, you might need to restart Android Studio to see the the changes. Once Fabric is successfully installed, you’ll see Fabric logo along with other options in the toolbar as shown in image below:


3. Add Crashlytics to your Android Project.
- Now click on the Fabric icon and you’ll see login option. Login in using your details that you had used in step 1.

- Once you’ve successfully logged in, you’ll see a bunch of options that you can use in your project. We will select Crashlytics as we are only interested in crash reporting for now.

- After selecting Crashlytics, you’ll find options to do the necessary changes automatically, code to generate a crash to test and user information. Just click on install and your Gradle file will be modified automatically to include Crashlytics.


4. Build and Run your project
- After you’ve run the project, you see your project in Crashlytics dashboard.
5. Mock a crash and see Error Reporting in Crashlytics
- You can check the crash code from Crashlytics, but I am too lazy to check it, and the least we as programmers can do is generate a crash :P, so here’s how I did it:
I just added a button variable and set a OnClickListner to it without referencing the variable to any real button. It will generate a null pointer exception and we will be able to see crash report in Crashlytics. Here the code:Button aButton;
@Override
protected void onCreate(Bundle savedInstanceState) {
super.onCreate(savedInstanceState);
Fabric.with(this, new Crashlytics());
setContentView(R.layout.activity_main);
aButton.setOnClickListener(new View.OnClickListener() {
@Override
public void onClick(View view) {}
});
}
This is it! We have integrated Fabric Plugin in Android Studio and Crashlytics to Android App. If you have any issues feel free to comment below, I’ll be happy to help. 🙂 Happy Coding!