
You’re about to turn incoming emails into actual Google Calendar events, automatically. The flow is simple: Gmail receives an email, an AI agent decides if it should become an event, and if yes, a Google Calendar event is created using the Calendar API – all wired up in one n8n workflow. You’ll build it from scratch, connect credentials, write a short system prompt, and run it end to end. Start on a blank canvas and click Add first step on the empty workflow.
If you’re a visual learner, feel free to check the full YouTube tutorial below:
What This Automation Does – The Big Picture
- Gmail receives an email and forwards it to an AI agent that decides if a Google Calendar event needs to be created.
- If the model says yes, the workflow creates the event using the Google Calendar API.
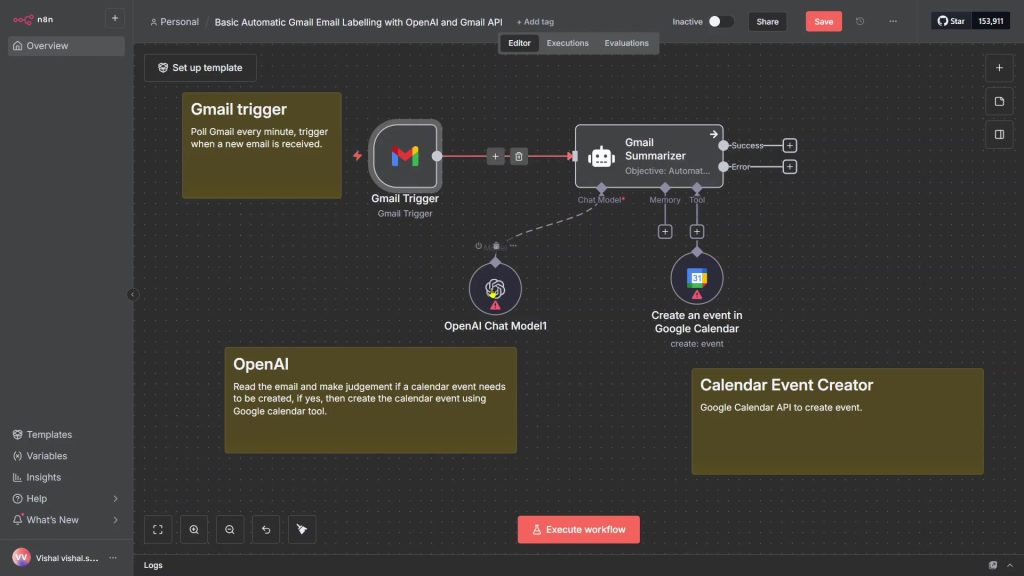
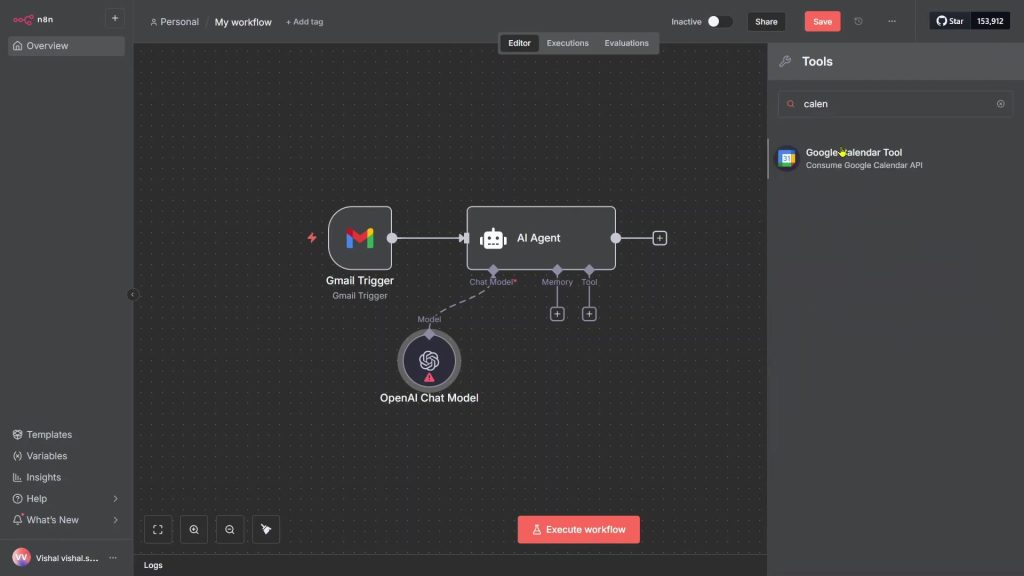
The nodes line up like this: Gmail trigger → AI agent (with your chosen chat model) → Google Calendar to create the event.
You’ll wire it once, then run and tweak the instructions until the results look right.
Build the workflow – add Gmail, AI agent, and Calendar nodes
Start by laying down the three nodes you need.
- Add Gmail
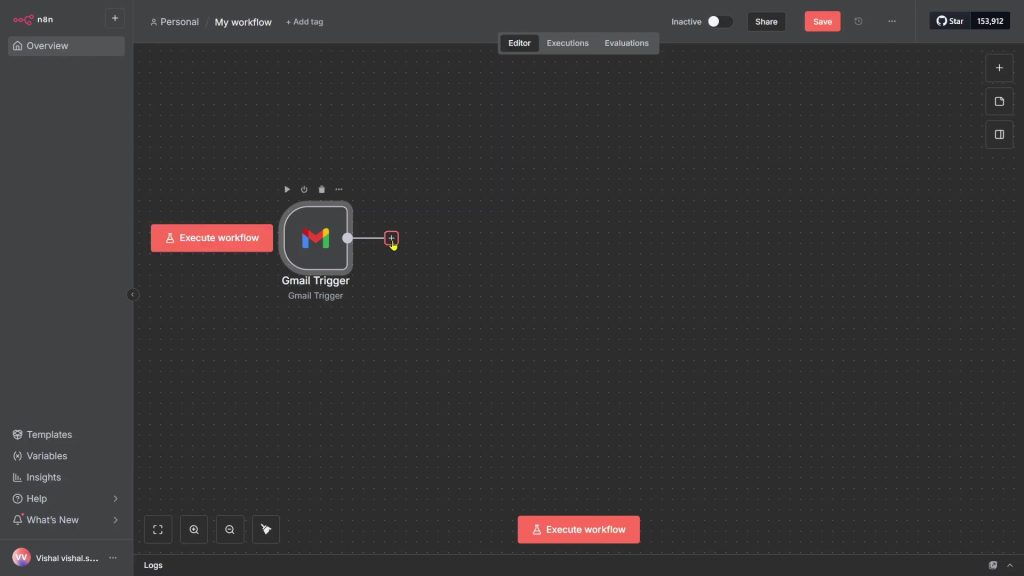
1) Click Add first step and search “Gmail”.
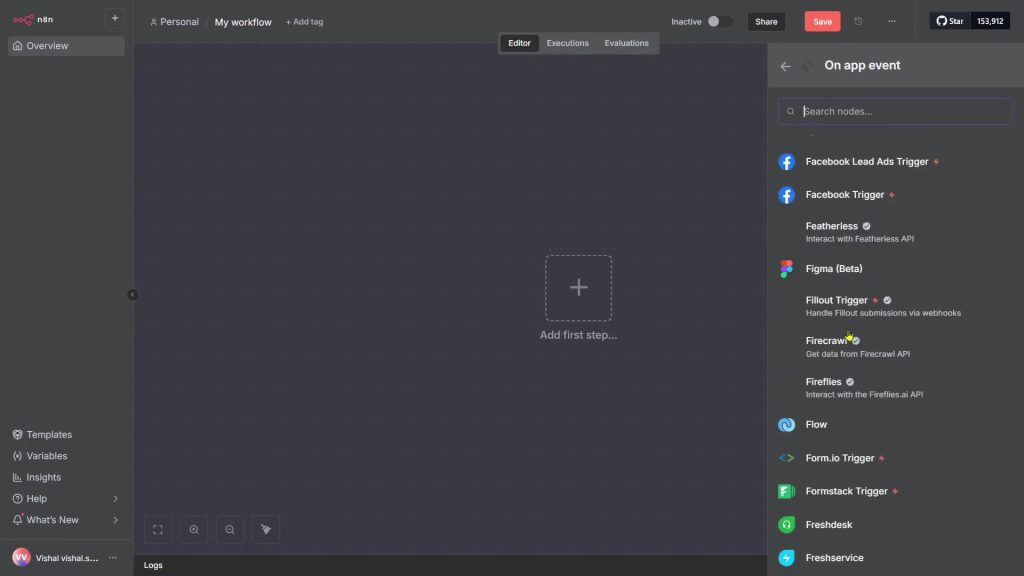
2) Choose the Gmail trigger under Triggers; you’ll connect credentials later.
- Add the AI agent
1) Click the plus, search “agent,” and choose AI agent.
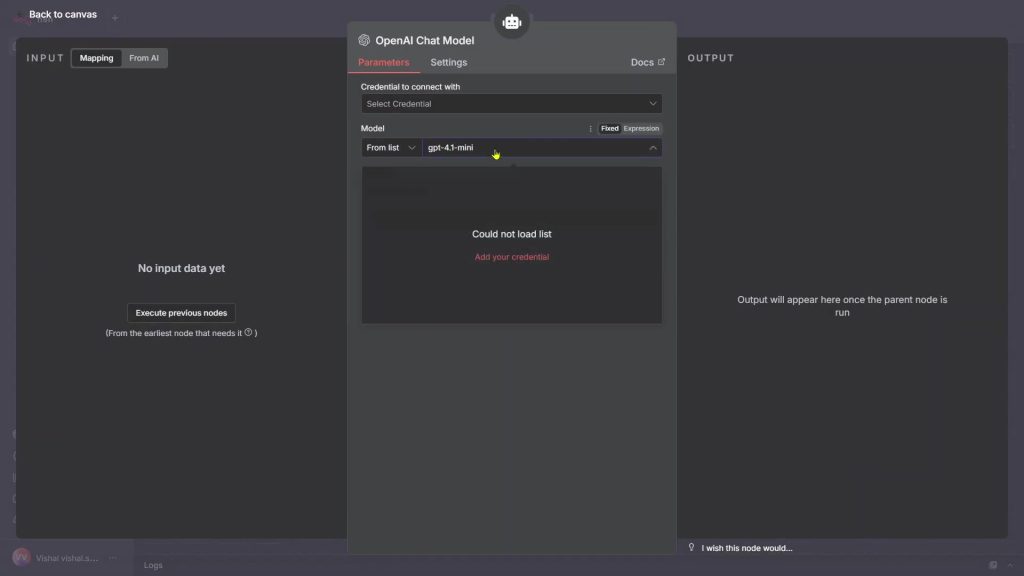
2) For the brain, pick the OpenAI chat model and select the exact model you want to use.
- Add Google Calendar
1) Click the plus again, search “calendar,” and add the Calendar tool.
2) Ignore the credentials prompt for now. You’ll connect it after creating Google Cloud credentials.
Quick fix when you see “parameter calendar is required” later: choose your calendar from the list for your signed-in Google account to clear the warning.
Create Google Cloud credentials – enable APIs & OAuth (Gmail + Calendar)
You’ll connect Gmail and Calendar by enabling their APIs and creating an OAuth client, then authorize both nodes.
- Enable APIs
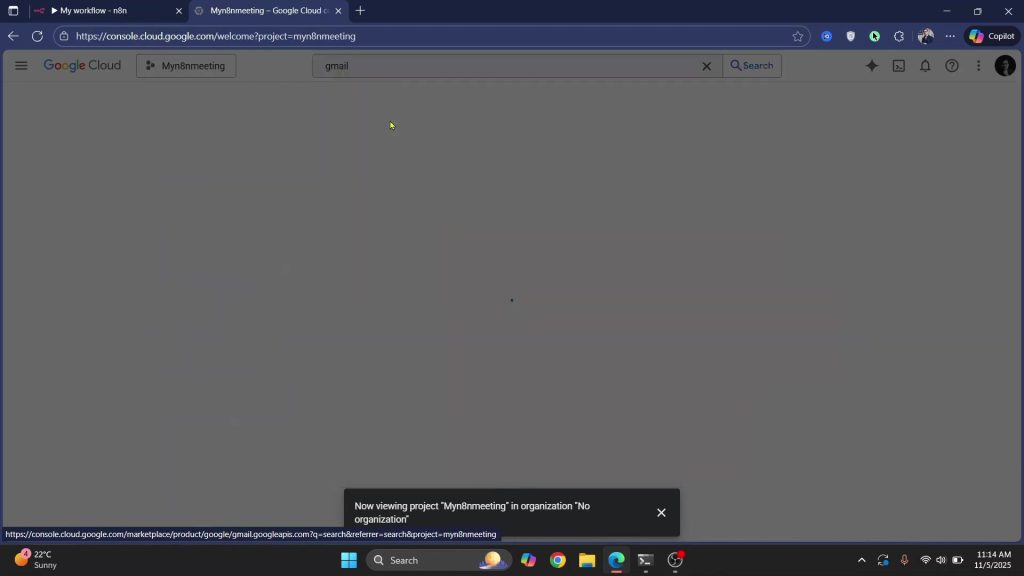
1) Go to console.cloud.google.com and open your project (create a new one if needed).
2) Enable Gmail API.
3) Search for Calendar and Enable Calendar API as well.
- Set up OAuth consent and client
1) Open OAuth consent screen, set your app details (external if you’re not on Google Workspace), and create it.
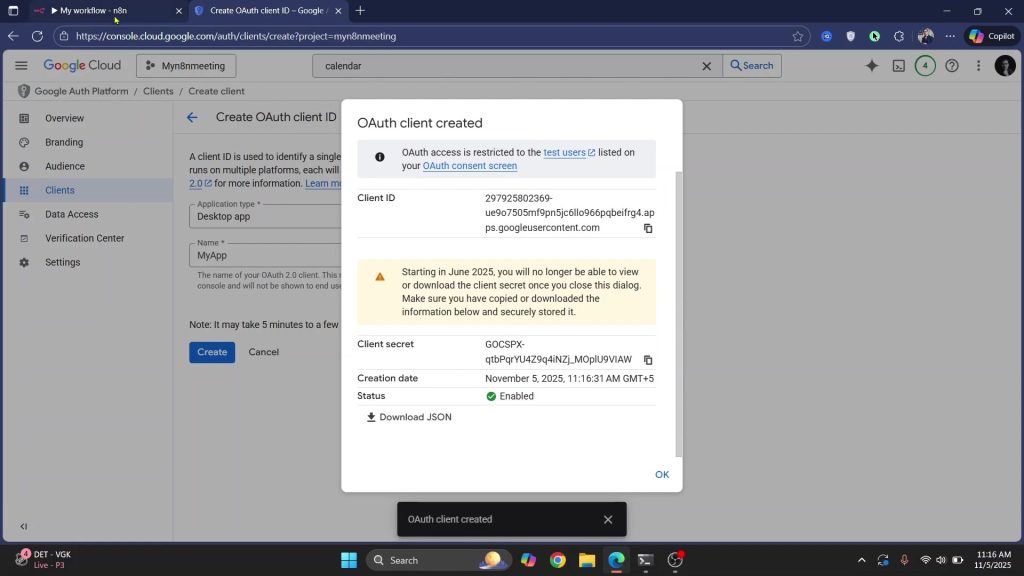
2) Create an OAuth client; choose Desktop app.

3) Copy the Client ID and Client secret – you’ll paste these into n8n.
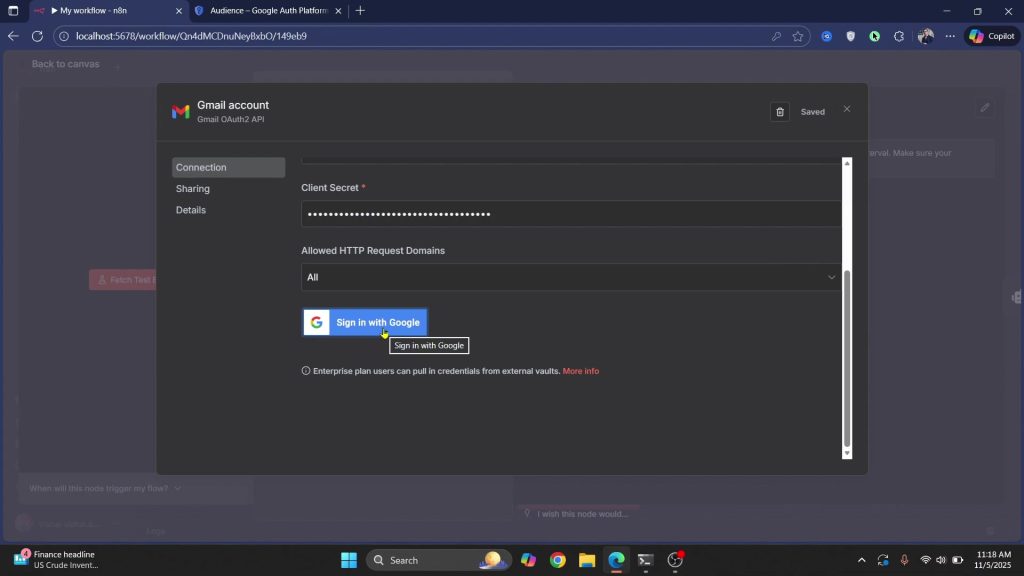
- Authorize Gmail and Calendar in n8n
1) Paste the Client ID/Secret into Gmail, then click Sign in with Google and allow access.
2) Do the same for Calendar and allow “view and edit events”.

Credentials and permissions to expect:
- Gmail: “read, compose, send, and permanently delete all email” (or just “read, compose and send emails” if you don’t want delete) , .
- Calendar: “view/edit events” .
Troubleshooting:
- If your app isn’t published yet and you see an access blocked message, add yourself as a test user under Audience, then try Sign in with Google again.
Connect the AI model — add OpenAI/Gemini API keys
You can use OpenAI or switch to Google Gemini — both work with the AI agent.
- OpenAI
1) Go to platform.openai.com, open Settings → API keys, and create a new secret key.
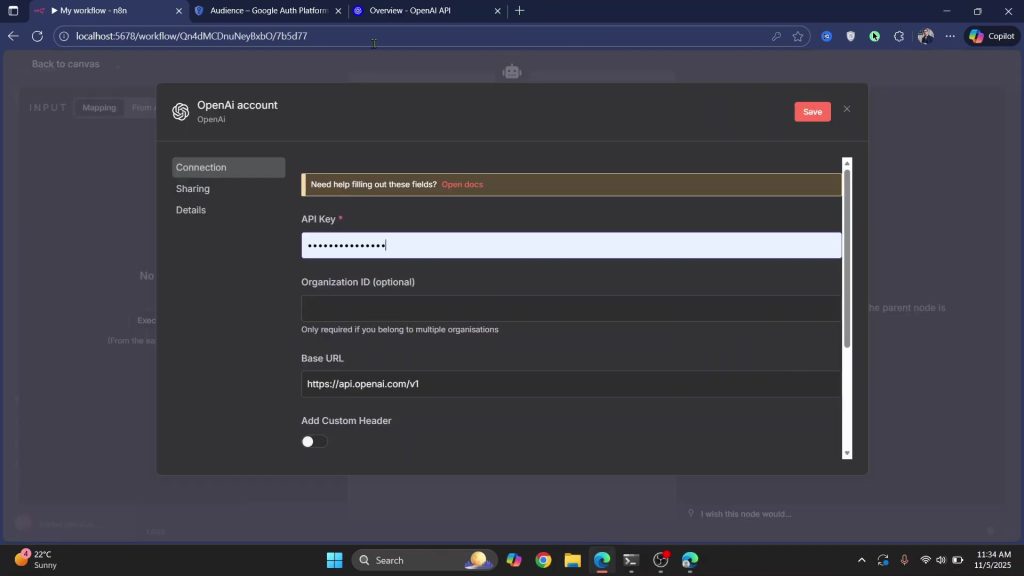
2) Copy it into the AI agent’s credentials in your workflow and save.
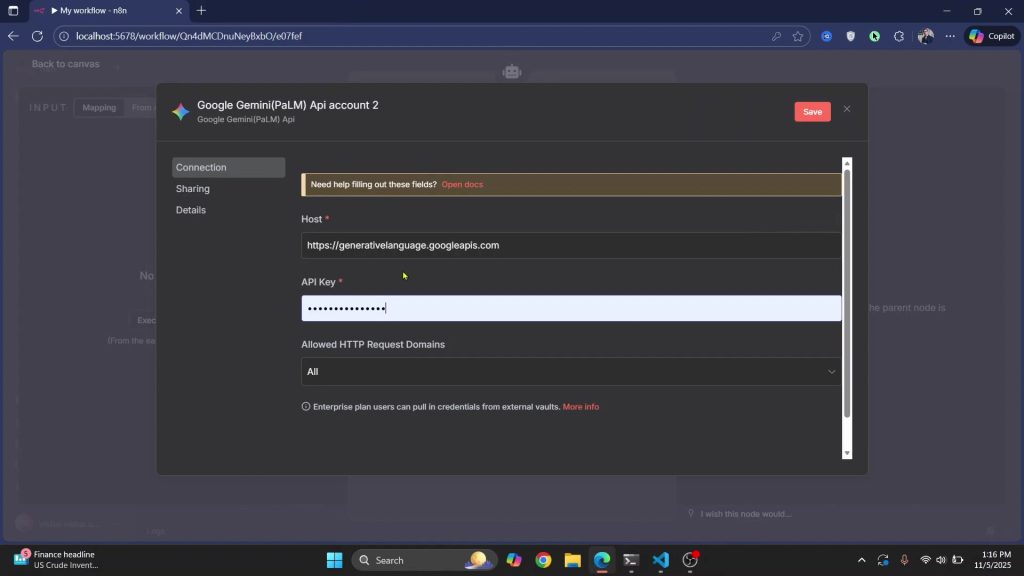
- Google Gemini (alternative)
1) In the AI agent, switch the model to Google Gemini and click Create new credentials; get a key at studio.google.com.

2) Associate the key with your Cloud project, copy it, paste back into the workflow, and save.
Write the system prompt – teach the model what to create
Feed the AI two things: a user message and a system message.
- User message
- “Create an event in Google calendar if it needs to be created based on the email below”.
- System message (start simple)
- “Create an event in Google Calendar if the email content requires an event creation or time-based activity”.
If the model hesitates or asks for more info, harden the instruction: “Don’t ask for any other information; just create the calendar event based on whatever email content you are provided with” [00:14:31]. You can also direct time zone handling in your system instructions if you need a specific zone.
Run, inspect, and refine – test runs and tweaks
Execute your workflow and read the outputs to refine.
- Run it once and check Executions for the latest run; you’ll see whether it created an event.
- Open the calendar and confirm the created event shows up (title/description can be improved by expanding your system prompt).
Fast iteration path:
- If the model says the email doesn’t require an event, that’s a correct “no” – move on to a real meeting email.
- Send a real example like “Project discovery meeting … at 11:00 a.m. tomorrow morning,” execute, and if the model asks for more details, tighten the system message so it stops asking and just creates the event.
- If you notice missing fields (like no title), add explicit instructions to generate a title, details, and description from the email content; then re-run.
If this Guide has been helpful, why not buy me a coffee? 🍻 👉Buy Me A Coffee
Automate the Run – Schedule It Every 1 Minute
Once your Gmail → AI agent → Google Calendar workflow is working manually, it’s time to make it run automatically every minute.
To do this, add a Cron node at the very beginning of your workflow. Click the plus icon before the Gmail node and search for “Cron.” Set the mode to Every Minute so that the workflow runs once every minute. This ensures n8n checks for new emails regularly and triggers your AI agent and Google Calendar event creation automatically.
At this point, your workflow structure should look like this:
Cron (Every 1 min) → Gmail (Fetch New Emails) → AI Agent → Google Calendar (Create Event)
Deploy and Keep It Running
Once everything is working as expected, you can deploy the automation so it runs continuously.
If you’re using n8n Cloud or the Desktop app, simply click “Activate Workflow” at the top right of your n8n editor. Once activated, n8n will automatically execute your workflow every minute in the background.
If you’re self-hosting n8n on a server or via Docker, make sure the service keeps running in the background. You can do that with:
docker compose up -dThis keeps your n8n instance and all active workflows running persistently.
To monitor activity, go to the Executions tab in the sidebar. Here you can view the run history, check for errors, and confirm successful runs.
That’s it — your Gmail-to-Calendar automation now runs every minute, fully automated and live 24/7 🚀